After our Ubiquiti post picked up traction, the question we kept getting was this:
“Okay, but what does this actually cost?”–Valid.
Specifically, what does it cost to deploy a single camera? Not a full campus, and not a 12-camera system. Just one.
On paper, that sounds pretty straightforward, but in reality, it depends entirely on how you’re deploying it. Hardwired Ethernet? Wireless bridge? Starlink, because you’re building in a canyon with zero ISP options?
The part that most people don’t realize is that even a “single camera” isn’t just a camera. It still needs recording. It still needs power. It still needs network infrastructure. It still needs someone to physically install it.
So instead of giving you a vague “it depends,” we’re going to break down what actually goes into a single Ubiquiti G6 PTZ deployment. We’ll dive into the hardware involved, the installation variables, and a realistic ballpark estimate of what you might expect to spend.
When Does a Single-Camera Setup Actually Make Sense?
Let’s start here, because this part is important if you’re considering a single-camera setup.
Most security systems aren’t designed to run on one camera. Ubiquiti, especially, is designed to scale as part of a broader ecosystem. But that doesn’t make a single-camera deployment wrong; it just means it needs to be intentional.
We usually see “just one camera” make sense in situations like:
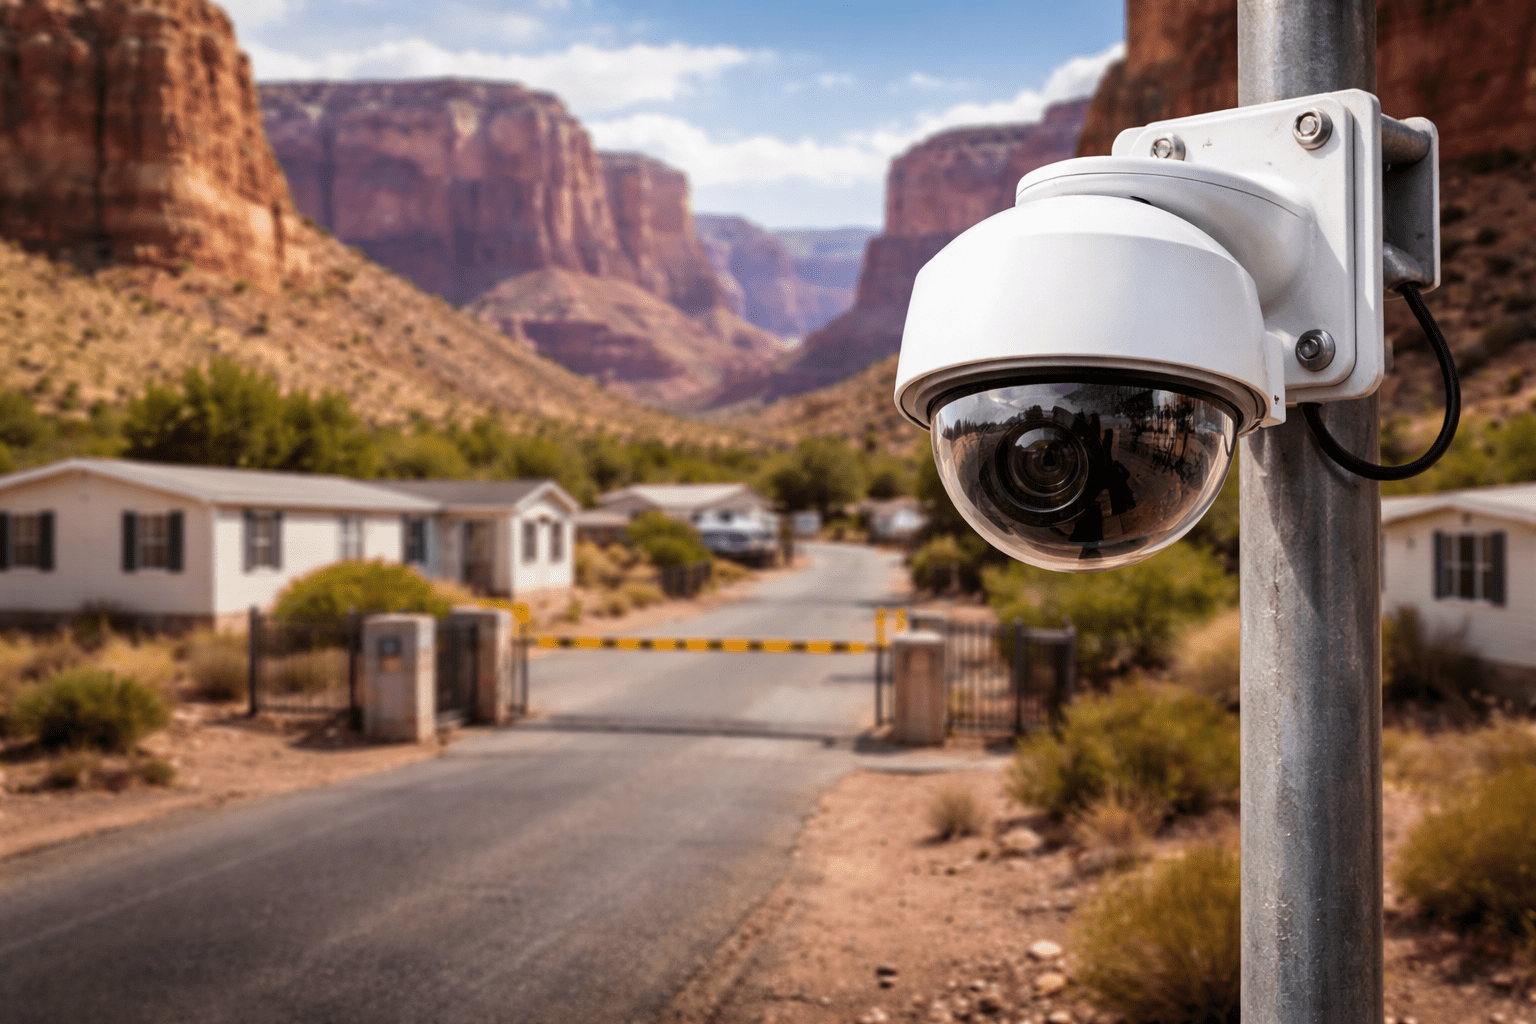
- Monitoring a construction site entrance
- Watching a gate or driveway
- Keeping an eye on equipment in a yard
- Covering a remote property where infrastructure is limited
- Temporary visibility during a build
In other words, you’re not trying to secure an entire campus. You just need visibility at a specific choke point.
A camera like the G6 PTZ makes sense in that scenario because it gives you flexibility like zoom, tracking, and smart detections without needing five fixed cameras to cover the same space.
That said, a single camera is rarely the final design, it’s usually the starting point. Once people see what’s possible, they usually expand coverage.
If you’re solving for one defined problem like one entrance, one access point, or one high-risk area, a properly deployed single camera can absolutely do the job.
The keyword there is properly.
What “One Camera” Actually Requires
Here’s where expectations need to shift a little.
When someone says, “We just need one camera,” what they usually mean is, “We don’t want a huge system.” Fair. But even a single camera still needs infrastructure behind it.
At minimum, you’re looking at:
- The camera itself
- A way to power it (typically PoE over Ethernet)
- A way to record it
- A stable network connection
For a setup like this, we’d typically use:
- A G6 PTZ (if you want AI features like tracking, license plate recognition, smart zoom)
- A UNVR Instant for local recording
- A 4TB surveillance-grade drive for storage
The NVR matters. Even with one camera, you don’t want to rely on cloud-only recording, especially in remote deployments or on Starlink. Local recording keeps your bandwidth usage under control and gives you retention without monthly fees.
Hardware alone, before markup and installation, lands in the ballpark of $850 at the time of this writing, for that configuration. That number doesn’t include cabling, mounting hardware, lift rental (if needed), or labor. It’s just the baseline gear required to do this correctly.
Because again, the camera is only part of the system.
Now, let’s take a closer look at the deployment options that you have.
Option 1: Hardwired Ethernet (Most Reliable)
If you have the ability to run cable, this is almost always the best way to do it.
A hardwired Ethernet run gives you power and data through a single cable (PoE), which means fewer failure points, lower latency, and you get long-term stability.
This is also where cost starts to vary.
Running Ethernet isn’t just plugging something in. It can involve:
- Fishing cable through interior walls
- Routing through an attic or crawlspace
- Drilling through exterior block or concrete
- Trenching if the camera is detached from the main building
- Weatherproofing exterior penetrations
The length of the cable run matters. The material you’re drilling through matters. Whether there’s attic access matters. Even ceiling height matters.
A simple interior run might take a few hours. An exterior run across a yard with no conduit? That’s a different conversation.
For planning purposes, we typically estimate 3–5 hours of labor for a straightforward installation, but that can vary depending on site conditions and regional contractor rates.
The upside? Once it’s in, it’s solid. This is the cleanest, most stable long-term solution if the infrastructure allows it.
If running cable isn’t practical, though, that’s where things get more interesting.
Option 2: Wireless Bridge (When You Can’t Run Cable)
Sometimes running Ethernet just isn’t realistic.
Maybe the camera is going on a detached structure, or maybe trenching would tear up finished concrete. Maybe the site layout makes cable routing more trouble than it’s worth.
That’s where a point-to-point wireless bridge comes in.
Instead of running physical cable between buildings, you mount two bridge radios, one at the main building and one near the camera location. As long as you have a clear line of sight, they create a dedicated wireless link back to the network.
It solves the trenching problem. But it also complicates things.
Now you’re dealing with:
- Mounting hardware for both radios
- Power at both endpoints
- Proper alignment
- Weather exposure
- Additional configuration time
It’s not unstable, especially when done correctly. But it’s not as simple as “no cable needed.”
You’re trading trenching for hardware and setup.
Cost-wise, you’re adding equipment and a bit more labor. The exact numbers depend on distance and mounting conditions, but it’s not a massive jump, just something that needs to be factored in upfront.
If you’re in a rural or difficult terrain environment, this is usually the cleanest compromise. But, if there’s no wired internet available at all, that’s where the third option comes into play.
Option 3: Starlink (When There’s No ISP Available)
This is the deployment we see more and more in construction and rural builds.
There’s no fiber, no cable, no fixed wireless… You’re building in a canyon, a rural development, or a jobsite that won’t have permanent internet for months. While Starlink solves the connectivity problem, it doesn’t eliminate the infrastructure conversation.
You still need:
- Power for the Starlink dish
- A mounting location with clear sky visibility
- Protection from weather and jobsite abuse
- Local recording (this is important)
Here’s why local recording matters: satellite bandwidth isn’t unlimited. If you rely on constant cloud uploads, you’ll burn through data fast. That’s why we design these deployments with an on-site NVR handling recording, and only using the internet connection for remote viewing when needed.
The camera records locally and you’re able to access it remotely when necessary. Clean. Efficient. No monthly cloud storage fees.
Hardware-wise, you’re adding the Starlink kit itself to the baseline camera + NVR setup.
Installation time depends on mounting height and power availability, but the bigger variable is usually the environment, wind exposure, mounting surface, and long-term durability.
For remote construction sites or properties with zero ISP options, this is often the only practical path.
And when designed correctly, it works extremely well.
So…What Does This Actually Cost?
Here’s the honest answer: it really depends on the site, but we can give you a realistic starting point.
For a single-camera deployment using:
You’re looking at roughly $850 in hardware before markup and consumables (cabling, mounting brackets, anchors, etc.).
From there, installation is where things shift.
For a straightforward hardwired install, we typically estimate:
- 3–5 hours of labor
- Contractor rate varies by region
If you’re running longer cable distances, drilling through block, or trenching, that labor number goes up.
If you’re adding:
- Wireless bridge equipment → additional hardware + install time
- Starlink → additional hardware + mounting + configuration
There’s no universal flat rate because:
- Cable length matters
- Wall material matters
- Ceiling height matters
- Lift rental sometimes enters the picture
- Regional contractor rates vary
A clean interior Ethernet run in an accessible building is one thing. An exterior deployment on a detached structure across a yard is something else entirely.
The point here is to show you what drives the cost so you can plan accordingly.
In most cases, the infrastructure (not the camera) is what determines the final number.
Final Thoughts
If you’re thinking about deploying “just one camera,” the most important question isn’t which model you buy.
It’s how it’s designed.
A single camera can absolutely solve the right problems, like monitoring a gate, watching a jobsite entrance, or keeping an eye on equipment. But it only works if the infrastructure behind it is solid. Those decisions matter more than the spec sheet.
That’s where we come in.
At NTS, we don’t just ship hardware. We look at the site, the terrain, the build timeline, the connectivity options, and the long-term plan. Sometimes that means hardwiring and sometimes it means bridging. Sometimes it means Starlink with localized recording, so you’re not burning through satellite bandwidth.
Sometimes it means telling you that deploying just one camera isn’t the right answer.
If you’re planning a construction project, securing a remote property, or trying to get real visibility without getting locked into monthly cloud subscriptions, let’s talk.